Adjust departure battery charge and driving style. Each vehicle calculates its estimated highway and city distance with a 10% safety buffer.
20%10% kept in reserve100%
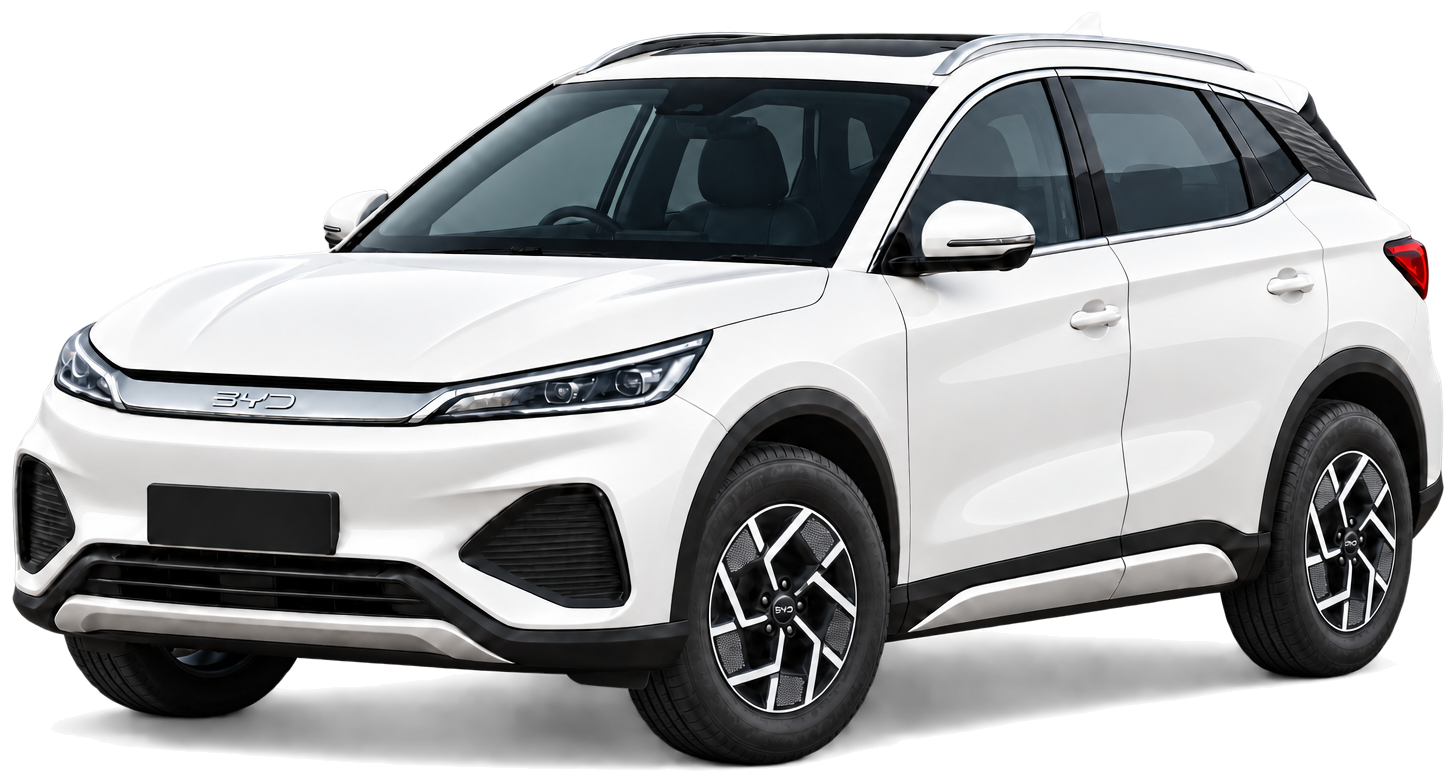
BYD Atto 3 · MY2025
Illustrative distance · 80% to 10%265–330km
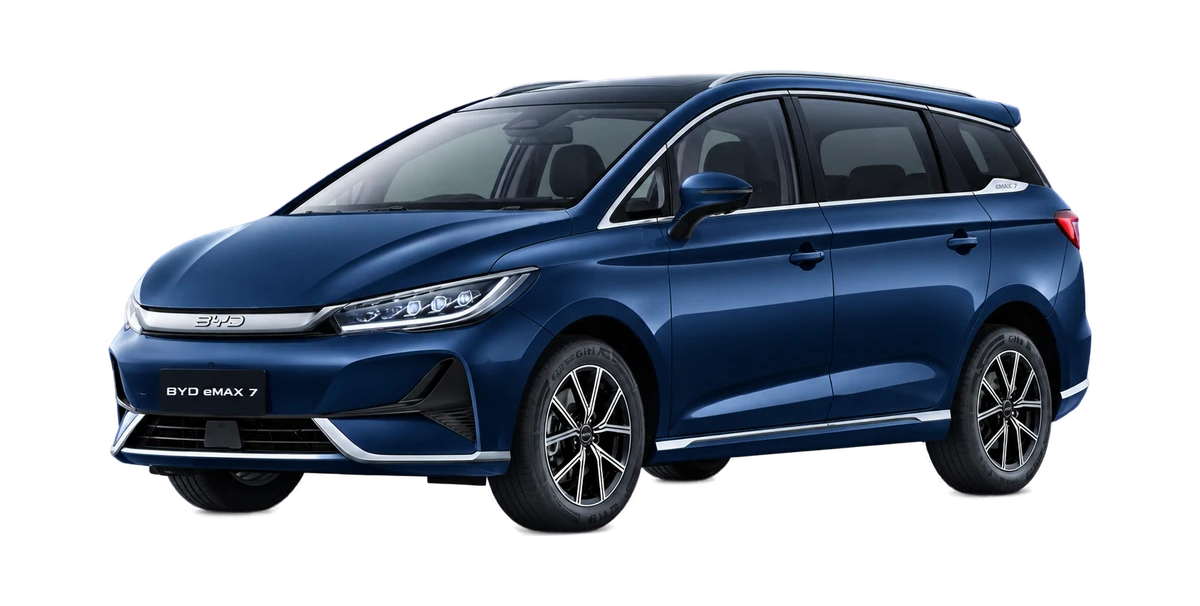
BYD eMAX 7 · MY2025
Illustrative distance · 80% to 10%—km
How this estimate works
We start with the vehicle’s published range band, multiply it by the battery available above a 10% reserve, then apply an illustrative driving factor: City ×1.05, Mixed ×1.00, Highway ×0.85. Results are rounded to 5 km.
These factors are Chargespot assumptions, not measured efficiency for these vehicles. This is a way to explore battery and driving choices. Weather, terrain, speed, traffic, battery ageing and cabin cooling are not modelled. It is not a route forecast or a promise that you can reach a destination.
The facts behind the feeling
Side-by-side technical specs.
Compare real battery capacity, charging curves, motor outputs, and safety ratings sourced directly from manufacturer technical specifications.
On smaller screens, scroll the table sideways to compare all metrics.
Manufacturer specifications for BYD Atto 3 · MY2025, BYD eMAX 7 · MY2025.
At a glance
BYD Atto 3 · MY2025Premium
BYD eMAX 7 · MY2025Premium 7-Seater
Hero Variant · Model Year
Premium · MY2025
Premium 7-Seater · MY2025
Ex-Showroom Price Span
Price not listed
Price not listed
Certified Range
521 km (MIDC P1+P2)
420 km (MIDC P1+P2)
Real-World Highway Range (95 km/h)
~375 km
Not listed
Real-World City Range
~469 km
Not listed
Battery (Nominal / Usable)
60.48 kWh nominal59.3 kWh usable
55.4 kWh nominalUsable capacity not listed
Cell Chemistry & Care
LFPLFP chemistry provides exceptional thermal stability and can be charged to 100% SoC daily without accelerated cell degradation.
LFPLFP chemistry provides exceptional thermal stability and can be charged to 100% SoC daily without accelerated cell degradation.
Battery Warranty
8 Years / 160,000 km
8 Years / 160,000 km
Peak Motor Output
204 PS (150 kW) · 310 Nm
163 PS (120 kW) · 310 Nm
0–100 km/h Acceleration
5.8 sec
8.9 sec
DC Fast Charging (10–80%)
43 min · Peak 80 kWCCS2 DC Fast Charger
Charging time not listed · Peak 89 kWCCS2 DC Fast Charger
AC Home Wallbox (10–100%)
8.5 hours (0–100%)AC 3-phase / 1-phase Wallbox
Not listedAC 3-phase / 1-phase Wallbox
Charging Port & Location
CCS2 · Rear Left Quarter Panel
CCS2 · Rear Left Quarter Panel
Boot & Luggage Space
440 L
180 L
Ground Clearance
175 mm
170 mm
Safety & NCAP Rating
5 Stars (Bharat NCAP)6 Airbags standard
5 Stars (Bharat NCAP)6 Airbags standard
ADAS & Autonomous Aids
Level 2
Not listed
Vehicle-to-Load (V2L)
Supported (up to 3.3 kW)
Supported
Connected Services Platform
BYD DiLink
BYD DiLink
Manufacturer sources & support.
Data verified against official OEM technical specifications and warranty manuals. Check with your authorized dealership for local on-road prices and subsidy eligibility.